

Nothing makes me feel more smugly self-satisfied than when I manage to pull off something that looks super stylish and expensive but isn't!
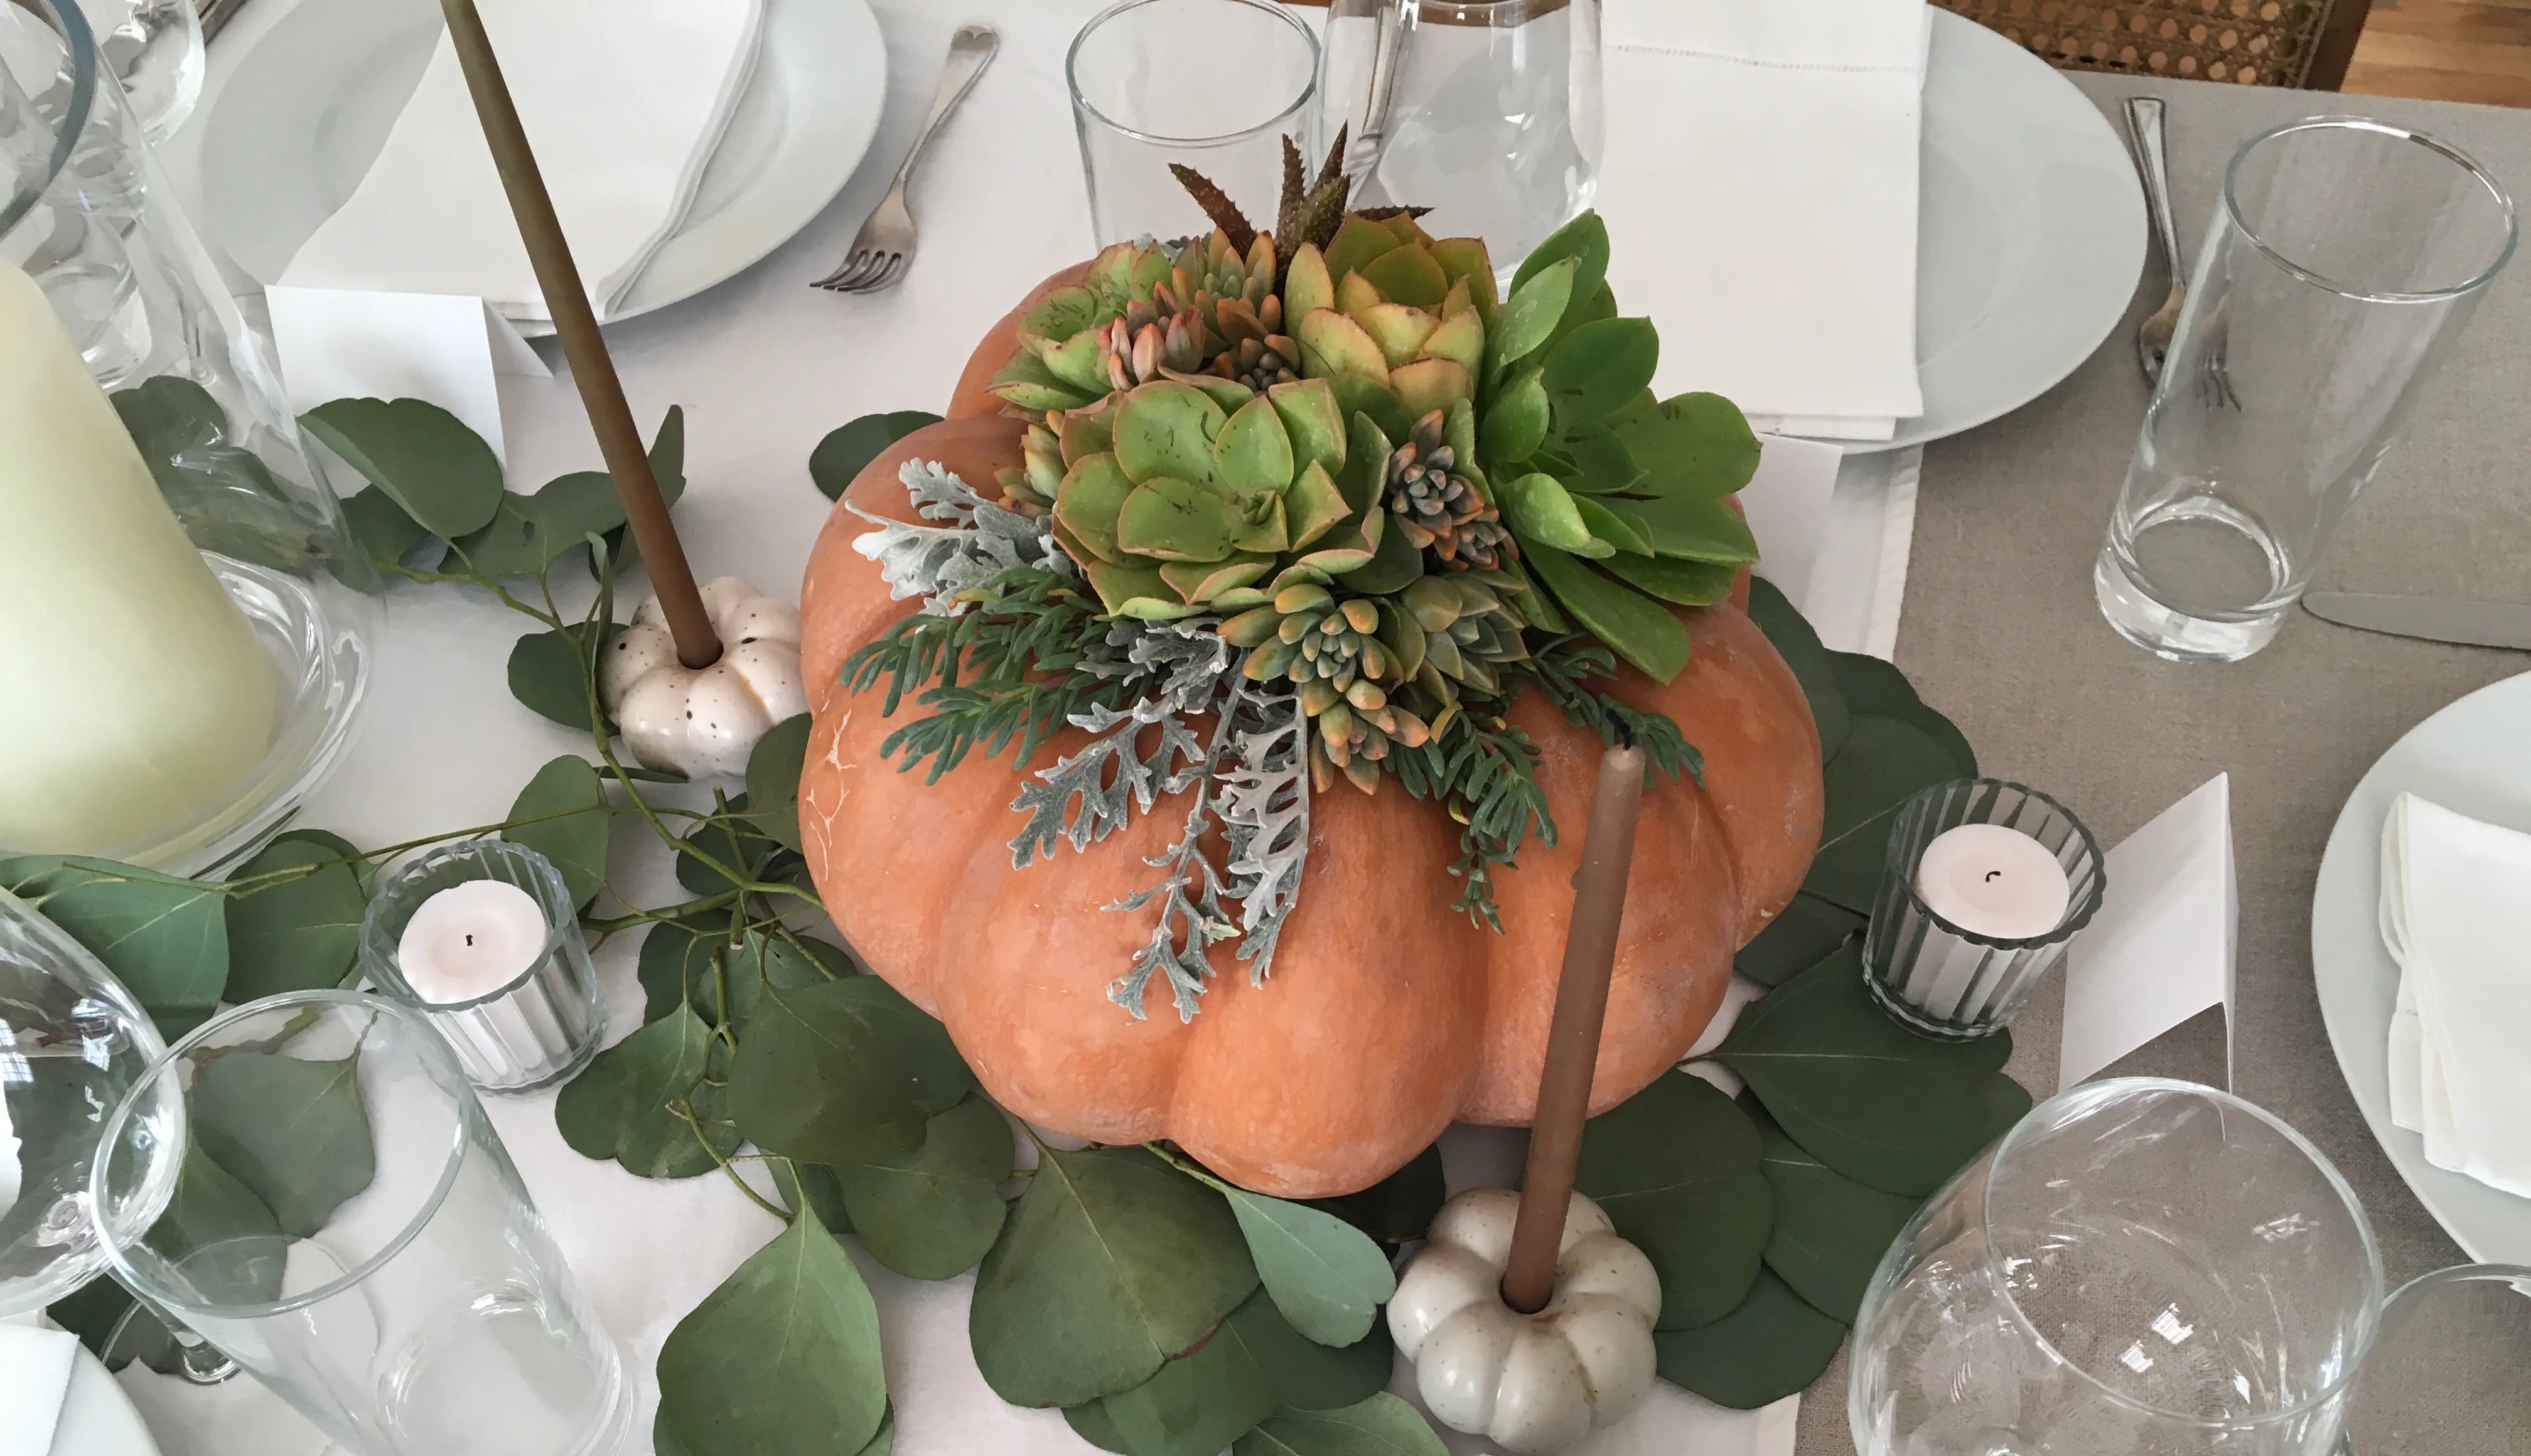
I first saw these gorgeous pumpkin centrepieces back in 2017 on the Jenny Kayne blog, Rip & Tan. She got hers from hipster nursery Rolling Greens in Los Angeles, but at $90+ each, they were way above my budget for Thanksgiving table decorations, so I had to get creative.

I did a deep dive and found a DIY post at Better Homes and Gardens. They were so easy and turned out so well; I've done them every year since.
Top tip: If you wait until later in the season (like just before or right after Halloween), you might even get your pumpkins for free! But be warned: I was caught out once when I got too cocky and waited until the day after Halloween to get my pumpkins, and the pretty "Fairytale" or "Cinderella" pumpkins were sold out! So grab at least a couple of them, just in case.
Gather your supplies:
- Fairytale Pumpkins. You can use the regular orange, “Jack O’ Lantern" pumpkins, but the Fairytale varieties have a larger, flatter surface, which makes them easier to work with. I like to get a couple of large ones, plus three or more small pumpkins for every 2 feet of table space. Then, I get more to decorate around the house. Alright! I get as many as I can find if they're free. #sorrynotsorry
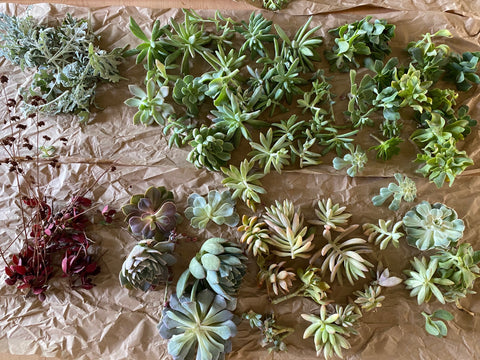
- Succulent Cuttings. You'll need more than you think. I cut these succulents from my yard, but I'm not above snipping some from a park or municipal green strip. What? I pay taxes, and they grow back healthier after pruning, anyway!
- Sheet moss from a craft store or Amazon.
- Kraft paper or Newspaper.
- A glue gun. Get the cheapest one you can find. The "professional" ones are the same.
- Disposable gloves are a good idea.
HOW TO DO IT:
1. Lay everything out on the Kraft paper/newspaper/cut grocery bags.

2. Spray only the top of the pumpkin. Press the moss onto the top of the pumpkin.

3. Now, trim your succulent stems. I keep mine short because tall centerpieces are annoying and block cross-table conversation.
4. Heat the glue gun and apply a dot of warm glue to each succulent stem.

5. Stick each succulent wherever it looks good!

6. Make sure you rotate your pumpkins as you add your succulents so they look good on all sides.

7. Stand back and marvel at your creative genius.

These will last until well past Thanksgiving if you keep them out of direct sunlight and give them a little spritz of water once a week. This is the easiest and most satisfying crafting project I've ever done. And I don't know how to craft anything.
Happy Dance!
xx, mlk
@heyponderosa


